What is wrought iron and why choose them?


2.Quality construction deters burglars
3.Wrought iron is strong enough to prevent home invasion
4.Iron doors strength do not lessen due to weather
5.Our iron doors have opening glass window and screen options
Wrought Iron Door VS Timber Door

There are so many choices on the market when it comes to the entrance door. Some people focus on appearance, some may focus on the quality. But to be honest, which one is the best one? How should we make choices? Today’s topic is all about the difference between timber door and wrought iron door. What is timber? Lumber (North American English) or timber (used in the rest of the English-speaking world) is a type of wood that has been processed into beams and planks, a stage in the process of wood production. Lumber is mainly used for structural purposes but has many other uses as well. Confused by what is wrought iron? Clicked the link below, What is wrought iron Now, we understand the basic background details, we are going to dive into a little bit more, Wrought Iron Door Timber Door Maintenance Low High Security High Low Material Iron Wood Appearance Classic and Modern Traditional Glass Panel Included No Aesthetics: Both Timber door and wrought iron door can give your home classic and elegant feelings. However, only wrought iron doors can be customised.
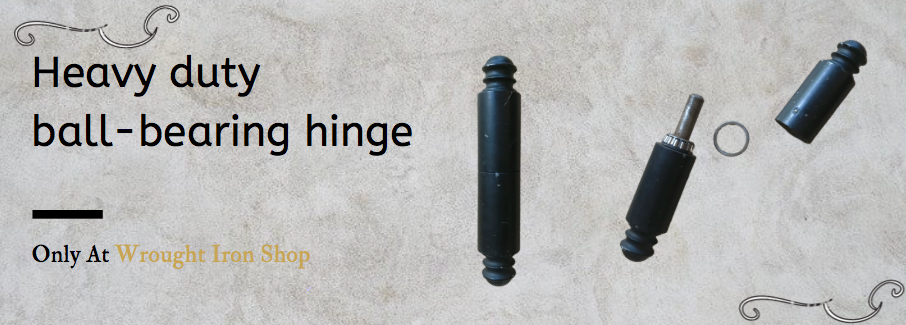
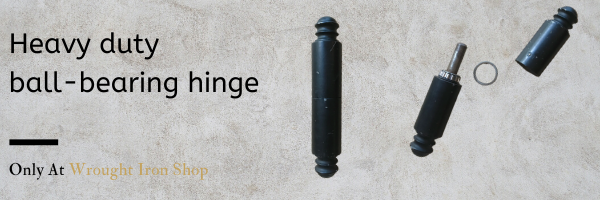
Why do we use heavy duty ball-bearing hinge?

Standard hinge:
Standard ball-bearing hinge:
Heavy duty ball-bearing hinge:
How does it work? (order processes)

How does it work?
This is the most common question which we get asked by the customers. We understand this is possibly a one-time purchase for the majority of them. Therefore, we want to write down an in-depth article to reduce the stress for our members.
If you don’t know what is wrought iron or why choose us? Please click here
If you want to know more about our products - please click here
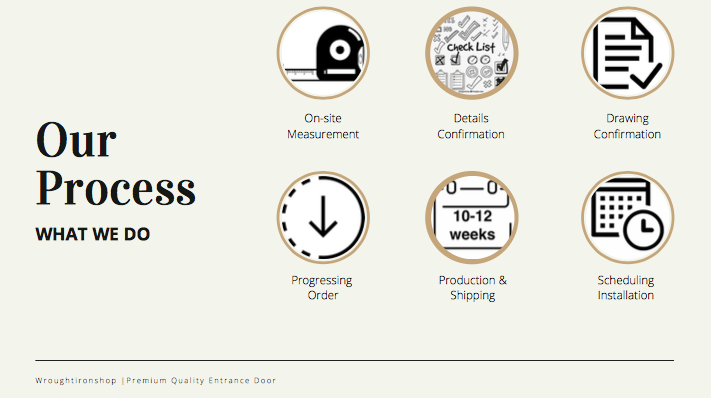
STEP1: ONSITE MEASUREMENT
This step is very essential for customers who want to renovate their house or who do not have any specialist assistance (such as builder and architect). Then our staff will help you schedule on-site measurement to ensure the size of your product.
STEP 2: DETAILS CONFIRMATION
This step can be done before on-site measurement, it depends on whether the customer already knows what they want, i.e colours, designs etc. If you are confused by so many choices, you can call us at 1300-88-46-36, so that our staff will assist you through the entire product selection. Or you can book an appointment and come to our Sydney head office.
If you want to order your door right now, please click here
If you don’t know which colour to select, please click here
STEP 3: DRAWING CONFIRMATION
We will send all the information to our designer for cad drawing once the customer confirms the previous step. Customers still can change details such as colour, glass and so on at this stage.
STEP 4: PROGRESSING ORDER
We will officially notify our manufacturing staff to start progressing the order. That means no changes will be allowed at this stage.
STEP 5: PRODUCTION & SHIPPING
The production photo will be sent to you before shipment so that you don’t need to worry about anything. Each product takes between 12-14 weeks from the end of the month.
STEP 6: SCHEDULING INSTALLATION
We will send the notification email to you once the container arrives into Sydney port. Then our staff will schedule an installation or delivery service based on your time table.
Our staff will be with you in every single step so that you can relax and enjoy.
Please contact us for more details
How to clean your beautiful Wrought Iron Door

Custom iron doors make your home look amazing and add to the curb appeal of your home. When your new wrought iron front door was installed, it included a special galvanisation to protect it from the elements and rust.
Wrought iron doors are very durable and designed to last a long time. Yet, they can start to show signs of age if you do not clean and maintain your door. They can also develop rust, just like other types of metals exposed to the elements.
Rust isn’t something you need to worry about immediately if you take care of your door. Rust tends to appear on much older doors. Fortunately, if you are on top of your cleaning and maintenance, you can catch rust before it becomes an issue and ruins your front door. Ideally, you should try to clean your door at least once a month to maintain its beauty and charm.
Cleaning and Maintenance Materials for Wrought Iron Front Doors
You will need to make sure you have the right cleaning and maintenance materials beforehand. Some of the more common items you want to have include:
- Castile Soap
- Small Ladder
- Lint-Free Cleaning Cloths
- Small Bucket
- Garden Hose
- Garden Nozzle
- Sandpaper
- Rust-Preventing Primer Paint
- Metal Door Paint
- Small Paintbrush
- Painters’ Tape
If your door is fairly new, you may only need the cleaning supplies and a small ladder. However, if your door is older, then you can clean it first, then see if there are signs of rust.
Step 1: Mix Castile Soap in Water
Mix a small amount of the castile soap in your bucket with warm water. You don’t need a lot of soap. Just follow the mixing instruction on the bottle.
Step 2: Rinse the Door
Use a gentle water setting and rinse the door off. This helps remove dust, dirt, bugs, and other debris.
Step 3: Wash the Door
Take one of your cleaning cloths and dampen it in the soapy water. Wash the door from top to bottom. Don’t forget to wash the top ledge and sides of the door too.
Step 4: Rinse the Soap Off
Using a gentle water setting, rinse the door and make sure all soap has been removed.
Step 5: Dry the Door
Take a clean, dry cloth and dry the door as best as possible. You want to remove as much of the water as you can. You can prop the door open to help make it easier to dry.
Step 6: Inspect the Door
Once the door has been washed, you want to inspect it for signs of rust. If there is none, you are done. If there is rust, then continue with your door maintenance.
Step 7: Remove the Rust
Take your sandpaper and gently rub the spot with the rust. You just need to remove the rust from where it is on the door. Take a damp cloth and wipe off the spot and dry to make sure you removed all the rust.
Step 8: Prime the Door
Apply the rust-prevention primer paint to the locations where you removed rust. Make sure to use even brush strokes and all exposed metal is covered. Allow the paint to fully dry.
Step 9: Paint the Door
After the primer coat is dry, paint the door. If you use a matching paint color, you may just need to touch-up the spots that had rust. Otherwise, you want to paint the entire door. Make sure to use the painters’ tape to tape off any areas you do not need to paint


